创建私有仓库
在Github中创建私有仓库,同时将本地仓库初始化并推送到私有仓库。例如这里添加的仓库名称是 blog
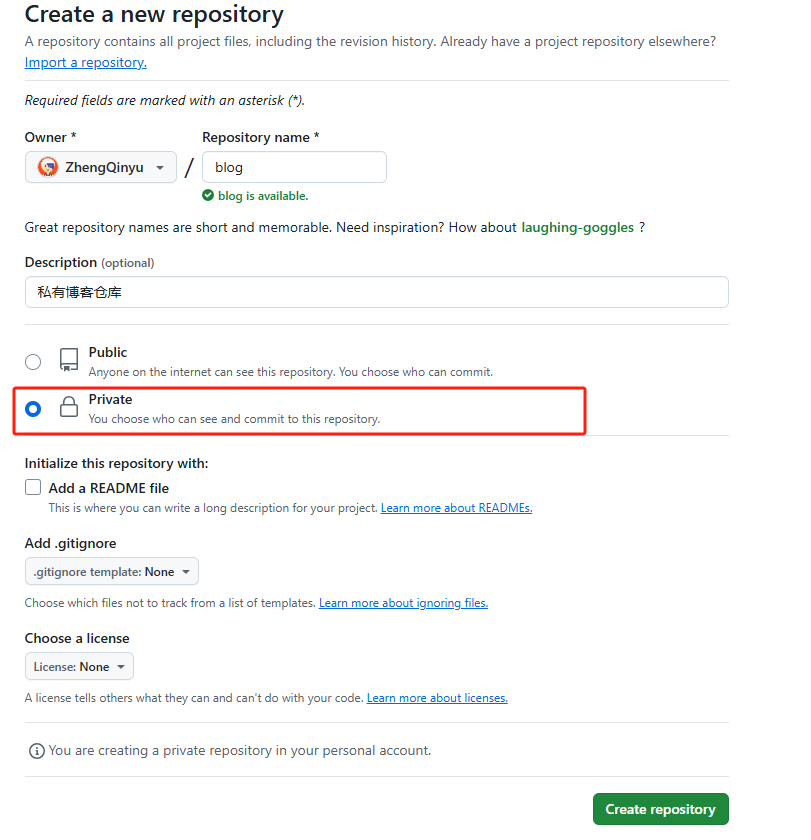
在本地仓库目录中初始化并推送到私有仓库。
git remote add origin [email protected]:[替换成用户名]/[替换成私有仓库地址].git
git branch -M main
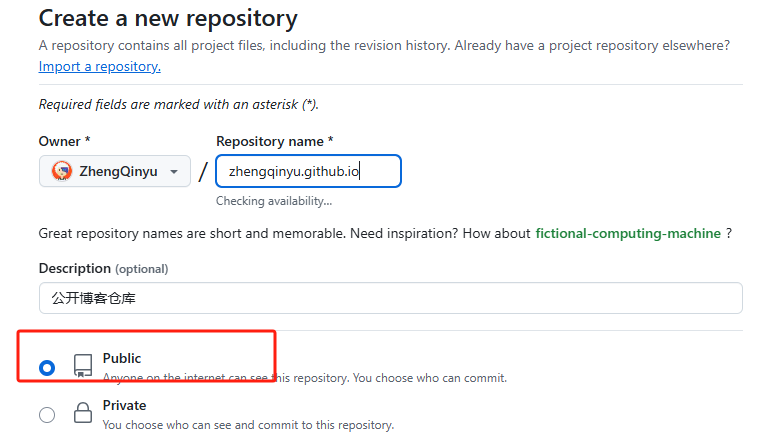
git push -u origin main创建共有仓库
创建公开访问的Github Pages仓库,仓库名称设置为 [替换成用户名].github.io
配置 ACTIONS_DEPLOY_KEY
生成ssh密钥
在本地生成ssh密钥,并指定
邮箱地址和密钥文件名,例如:文件名为deploy,一直回车即可。
$ ssh-keygen -t rsa -b 4096 -C "[email protected]" -f deploy重点
生成的文件 deploy 是私钥; deploy.pub 是公钥
添加公钥到公有仓库的
Delpoy keys在公有仓库
[替换成用户名].github.io的Settings -> Deploy keys中添加公钥deploy.pub的内容,并勾选Allow write access配置私有仓库的密钥和推送仓库
在私有仓库
blog的Settings -> Secrets and variables -> Actions中添加名为ACTIONS_DEPLOY_KEY的Secrets变量,值为私钥deploy的内容。 同时在Variables中添加名为 EXTERNAL_REPOSITORY 的变量,值为 "用户名/仓库名称" ,例如ZhengQinyu/ZhengQinyu.github.io
编写构建脚本
在本地blog项目中,添加并设置构建任务.github/workflows/deploy.yml,内容如下,可以根据需要修改pnpm和node的版本
name: 构建并推送
on:
  push:
    branches: [main]
  # 允许你从 Actions 选项卡手动运行此工作流程
  workflow_dispatch:
# 只允许同时进行一次部署,跳过正在运行和最新队列之间的运行队列
# 但是,不要取消正在进行的运行,因为我们希望允许这些生产部署完成
concurrency:
  group: pages
  cancel-in-progress: false
jobs:
  # 构建工作
  build:
    runs-on: ubuntu-latest
    steps:
      - name: 检出
        uses: actions/checkout@v4
        with:
          fetch-depth: 0 # 如果未启用 lastUpdated,则不需要
      - name: 安装 pnpm
        uses: pnpm/action-setup@v3
        with:
          version: 9
      - name: 安装 Node
        uses: actions/setup-node@v4
        with:
          node-version: 20
          cache: pnpm
      - name: 下载依赖
        run: pnpm install
      - name: 构建
        run: pnpm docs:build
      # 关键步骤:利用这个 action 将生成的文档 push 到指定仓库
      - name: 部署到公共仓库
        uses: peaceiris/actions-gh-pages@v4
        with:
          # DEPLOY_KEY
          deploy_key: ${{ secrets.ACTIONS_DEPLOY_KEY }}
          # 指定push的仓库
          external_repository: ${{ vars.EXTERNAL_REPOSITORY }}
          # 指定push的分支
          publish_branch: main
          # push 的目录
          publish_dir: .vitepress/dist
          # 是否只保留最新的提交记录
          force_orphan: true
推送服务
将项目提交,并推送到私有仓库中,等待github actions自动构建,构建完成后,自动将构建好的文件推送到公有仓库中,完成部署。即可使用 https://ZhengQinyu.github.io 访问部署完成的网页
自定义域名映射
在本地 blog项目中的public目录中添加 CNAME 文件,内容为你自己的域名,例如:doc.izqy.top
同时在DNS映射服务中,创建cname映射,将doc.izqy.top指向 ZhengQinyu.github.io。